15 Days of Playwright - Day 1: Getting Started with Playwright
Install Playwright, write your first test, and understand why it has become the standard choice for modern browser automation. The 15-day journey starts here.
Jhonatas Matos

Every journey begins with a single step, and today marks the first day of our 15-day adventure with Playwright. Over the next two weeks, I will explore the powerful features of Playwright, a modern automation library that simplifies browser testing and web scraping.
Stay tuned for daily updates as I share my findings and insights along the way!
Playwright vs Selenium
Both Playwright and Selenium are popular tools for browser automation, but they have some key differences:
- Architecture: Playwright is built from the ground up for modern web applications, while Selenium has been around for a long time and has a more traditional architecture.
- Browser support: Playwright supports multiple browsers out of the box, including Chromium, Firefox, and WebKit. Selenium also supports multiple browsers, but the setup can be more complex.
- API design: Playwright provides a more modern and user-friendly API compared to Selenium, making it easier to write and maintain tests.
- Performance: Playwright is generally faster than Selenium, thanks to its use of modern browser features and optimizations.
Playwright vs Cypress
Cypress is another popular tool for end-to-end testing, but it has a different approach compared to Playwright. Here are some key differences:
- Architecture: Cypress is built specifically for testing web applications and runs in the same execution loop as the application. This allows for more straightforward testing of client-side behavior but can limit testing capabilities for certain scenarios.
- Browser support: Cypress primarily supports Chromium-based browsers (like Chrome and Edge) and Firefox. Playwright, on the other hand, supports a wider range of browsers, including WebKit.
- API design: Both Playwright and Cypress offer user-friendly APIs, but they have different design philosophies. Cypress uses a more opinionated approach, while Playwright provides more flexibility in how tests are structured.
- Performance: Playwright is generally faster than Cypress, especially for tests that require multiple browser contexts or tabs.
🔍 Playwright vs Cypress vs Selenium
| Feature | Playwright | Cypress | Selenium |
|---|---|---|---|
| Languages | JS/TS, Python, Java, .NET | JavaScript/TypeScript | Java, Python, C#, Ruby, JS, etc. |
| Architecture | Direct browser protocol control | Runs in same loop as app | Traditional WebDriver |
| Installation | npm install playwright | npm install cypress | Requires browser-specific drivers |
| Browser Support | Chromium, Firefox, WebKit (native) | Chrome, Firefox, Edge | All (with specific drivers) |
| Mobile Testing | ✅ Native emulation (iOS/Android) | ❌ Viewport resize only | ⚠️ Limited via capabilities |
| Multi-Tab/Domain | ✅ Full support | ❌ Single origin restriction | ⚠️ Complex implementation |
| Auto-Waiting | ✅ Smart (network + DOM) | ✅ Good (element-only) | ❌ Manual waits required |
| iFrames | ✅ Simplified handling | ⚠️ Requires workarounds | ⚠️ Complex |
| File Handling | ✅ Native upload/download | ⚠️ Needs plugins | ⚠️ Complex implementation |
| API Mocking | ✅ Native page.route() | ✅ cy.intercept() | ❌ Requires external libraries |
| Parallel Execution | ✅ Built-in (--shard) | ⚠️ Via plugins or CI | ✅ Possible but complex |
| Debugging | ✅ Trace viewer, videos, inspector | ✅ Time travel debugger | ⚠️ Basic screenshots |
| Community | Growing (Microsoft-backed) | Very active | Largest (but fragmented) |
| Best For | Cross-browser, complex scenarios | Frontend-heavy apps | Legacy systems, language flexibility |
Key Insights:
- Playwright: Best for modern web apps needing cross-browser support
- Cypress: Ideal for frontend teams wanting developer experience
- Selenium: Only choice for certain languages (Java/Ruby) or legacy systems
Why Playwright?
Playwright is a powerful automation library that allows developers to write tests for web applications across different browsers. It provides a high-level API to interact with web pages, making it easier to simulate user interactions and verify application behavior. Some key features of Playwright include:
- Cross-browser support: Playwright supports multiple browsers, including Chromium, Firefox, and WebKit, allowing you to test your application in different environments.
- Auto-waiting: Playwright automatically waits for elements to be ready before interacting with them, reducing the need for manual waits and improving test reliability.
- Powerful selectors: Playwright provides a rich set of selectors to target elements on the page, making it easy to find and interact with the right elements.
- Headless mode: Playwright can run tests in headless mode, allowing for faster execution and easier integration into CI/CD pipelines.
Day 1: Getting Started with Playwright
Today, I will cover the basics of setting up Playwright and writing the first test. Let's dive in!
System Requirements
Before we begin, make sure you have the following installed:
- Latest version of Node.js 20, 22 or 24.
- Windows 10+, Windows Server 2016+ or Windows Subsystem for Linux (WSL).
- macOS 14 Ventura, or later.
- Debian 12, Ubuntu 22.04, Ubuntu 24.04, on x86-64 and arm64 architecture.
Setting Up Playwright
To get started with Playwright, you'll need to install it in your project. If you haven't already, you can do this using npm:
npm init playwright@latest
In my case I will create the folder for the project using
#creating project folder
mkdir 15-days-of-playwright

#navigating to project folder
cd 15-days-of-playwright
Then I will initialize the project with npm:
npm init -y
And finally, I will install and initializePlaywright:
npm init playwright@latest
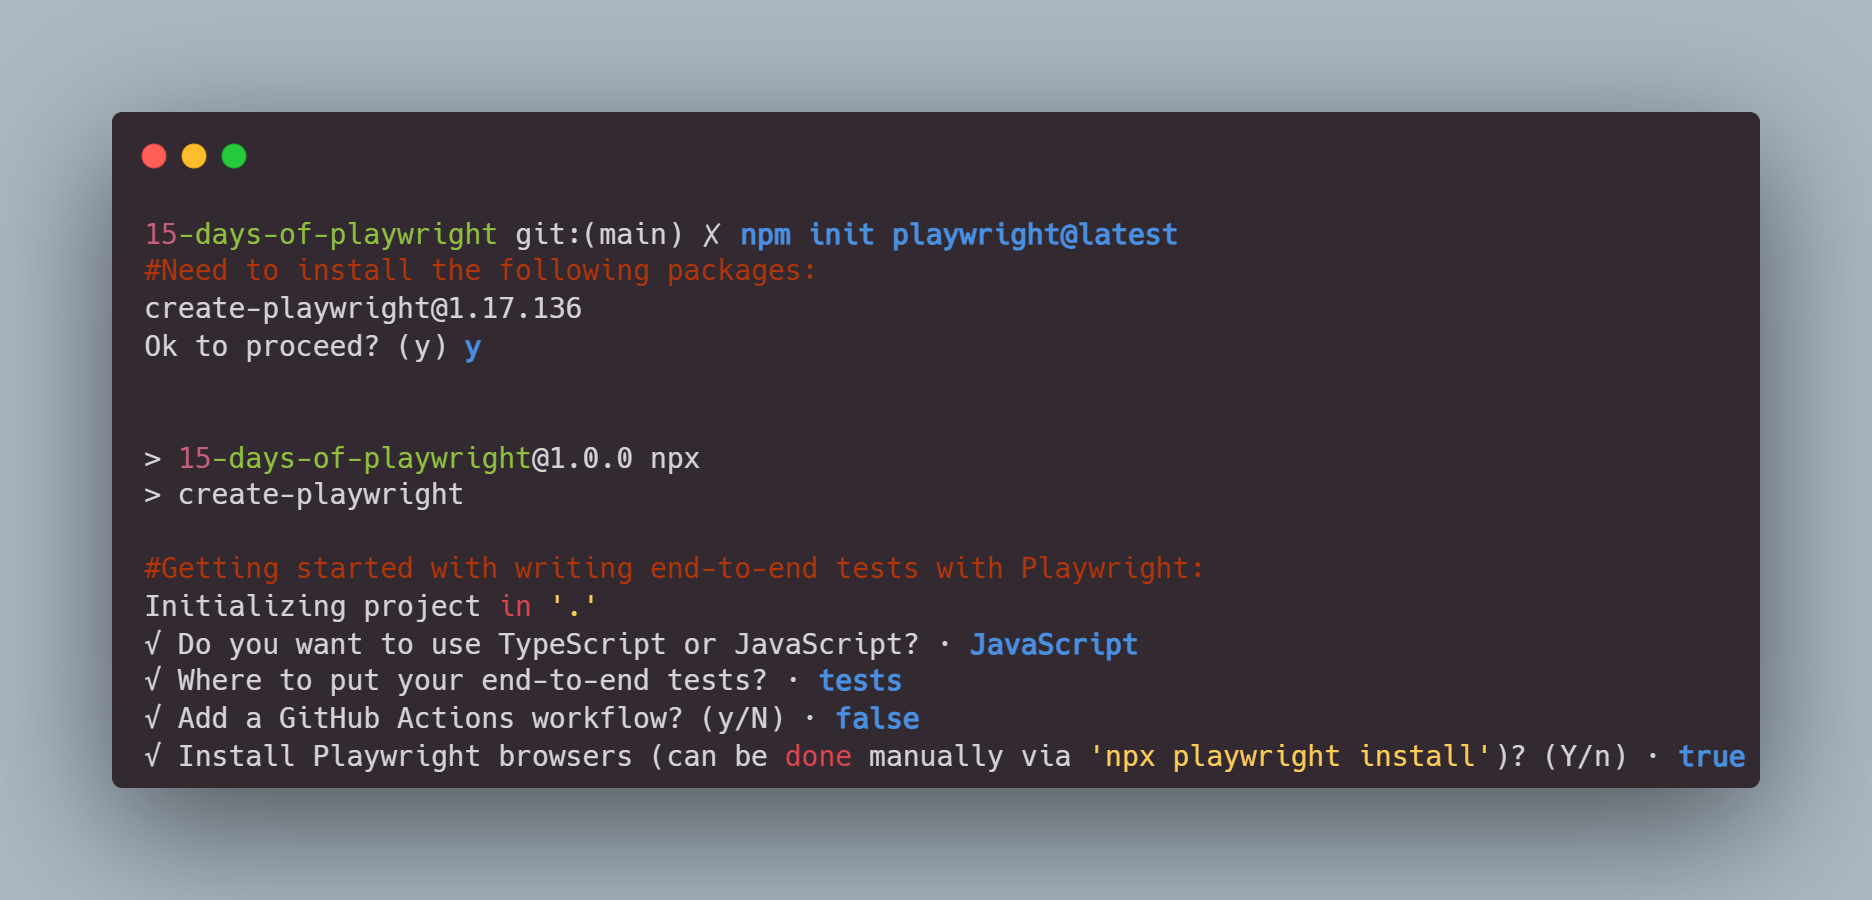
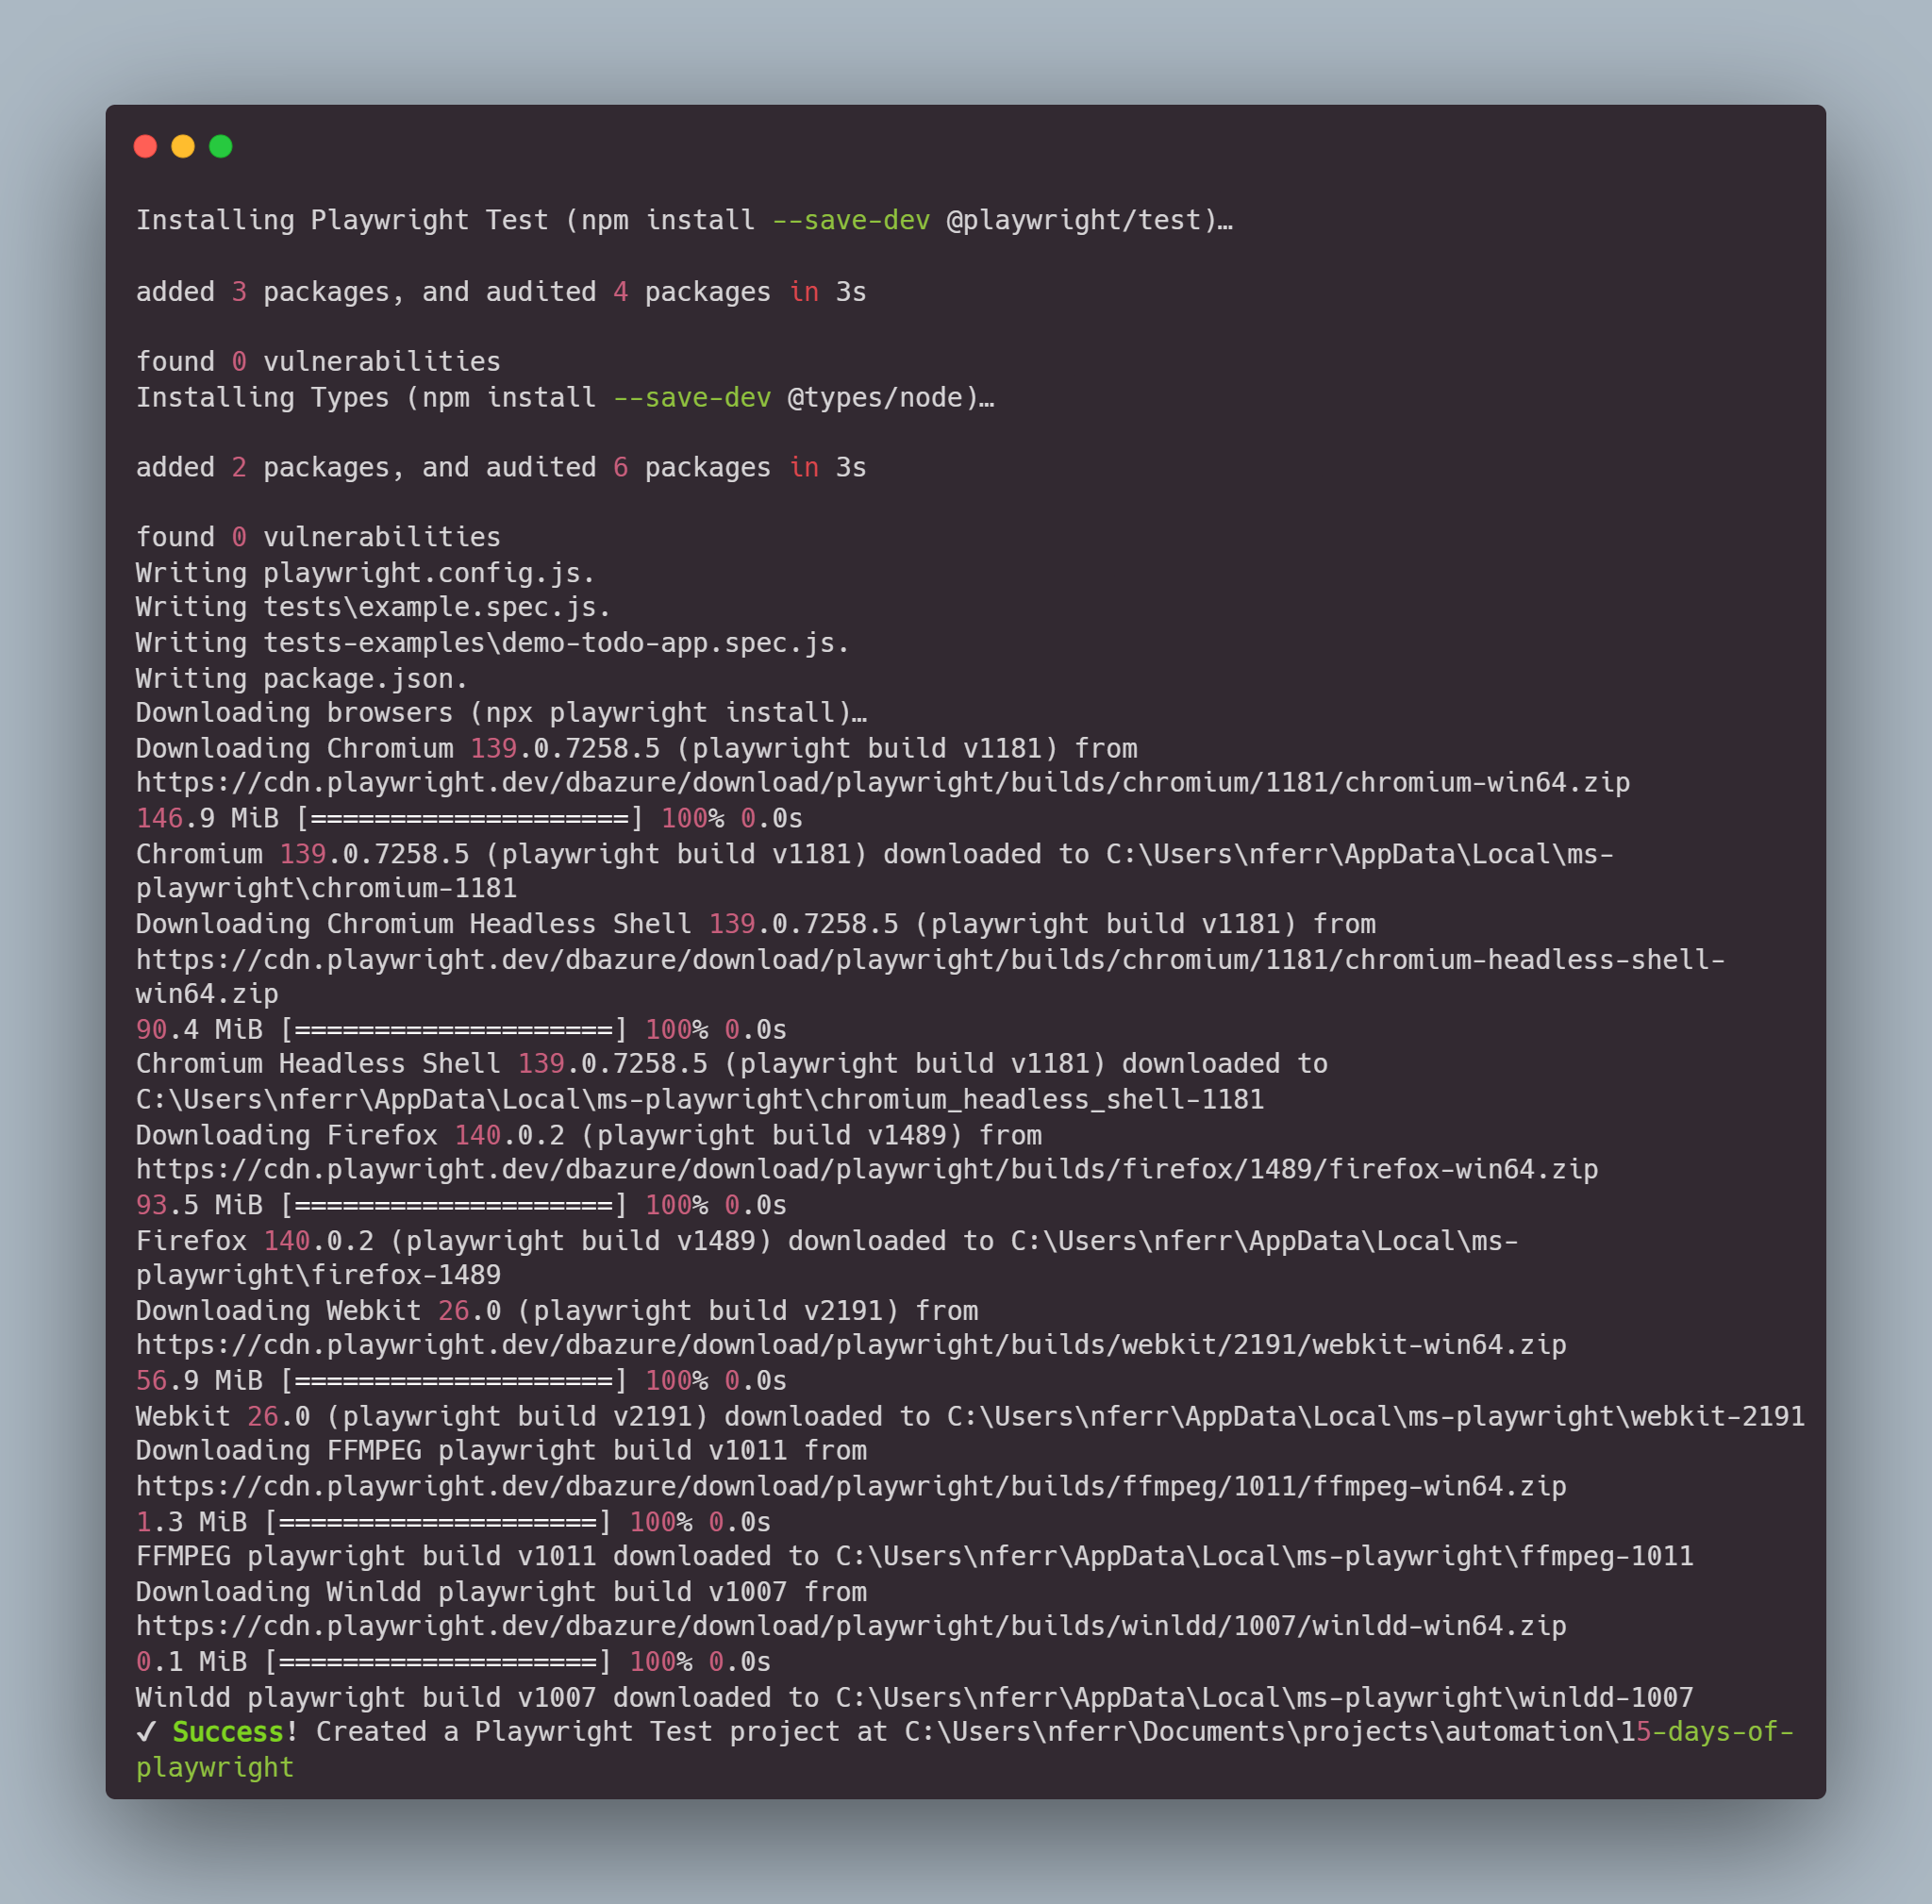
If everything goes well, you should see a prompt with success message.
Writing Your First Test
Once you have Playwright installed, you can create your first test or run the example provided by Playwright. Here's a simple example that opens a browser, navigates to a webpage, and takes a screenshot:
I going to create a test file called day01.test.js inside the tests folder and write the following code.
const { test, expect } = require('@playwright/test');

test('BugBank - homepage load and screenshot', async ({ page }, testInfo) => {
  await page.goto('https://bugbank.netlify.app');

  // Valid URL (regex avoids trailing slash issues):
  await expect(page).toHaveURL(/bugbank\.netlify\.app/);

  // Page rendered:
  await expect(page.locator('body')).toBeVisible();

  // Save screenshot as test artifact:
  await page.screenshot({
    path: testInfo.outputPath('homepage.png'),
    fullPage: true,
  });
});
To run the test, you can use the Playwright test runner. Simply execute the following command in your terminal:
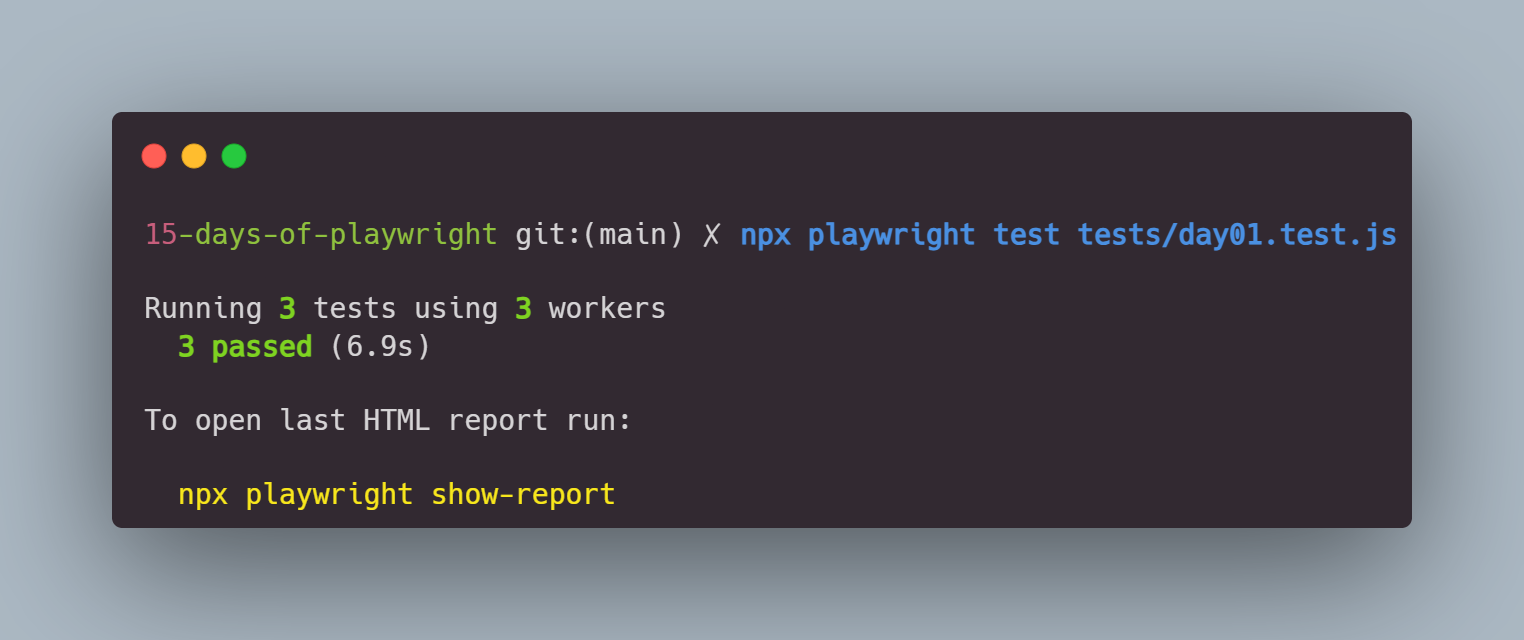
npx playwright test tests/day01.test.js
Im using test/day01.test.js in the command because playwright creates some tests example but I only want to run my test. If you want to run all tests, you can use:
npx playwright test
This script uses Playwright to launch a Chromium browser, navigate to "https://bugbank.netlify.app", take a screenshot, and save it as "example.png".
Conclusion
In this tutorial, I covered the basics of setting up Playwright and writing my first test. We explored the system requirements, installation process, and how to create a simple test script.
If you want to practice and learn with me, I going to post all the code used in this tutorial on GitHub in the link below:
Link to GitHub projectThanks for reading!
Stay tuned for more updates!